Quick Start
This quick start will help you successfully start ClassClicker voting in which your audience can vote on an answer to your quiz and see the results displayed in a chart in real-time.
Start Voting
The Steps below show an example of simple ClassClicker usage which does not include creating a quiz within the ClassClicker system, but rather using some external quiz material. Before following the steps below, you need to prepare a multiple choice quiz to deliver on some material such as a handout, textbook, PowerPoint slide, or writing on the whiteboard. Additionally, you can connect your PC to a projector or other display device so that the audience of your lecture can see the voting progress on a large screen.
Steps
- Sign in to your ClassClicker account.
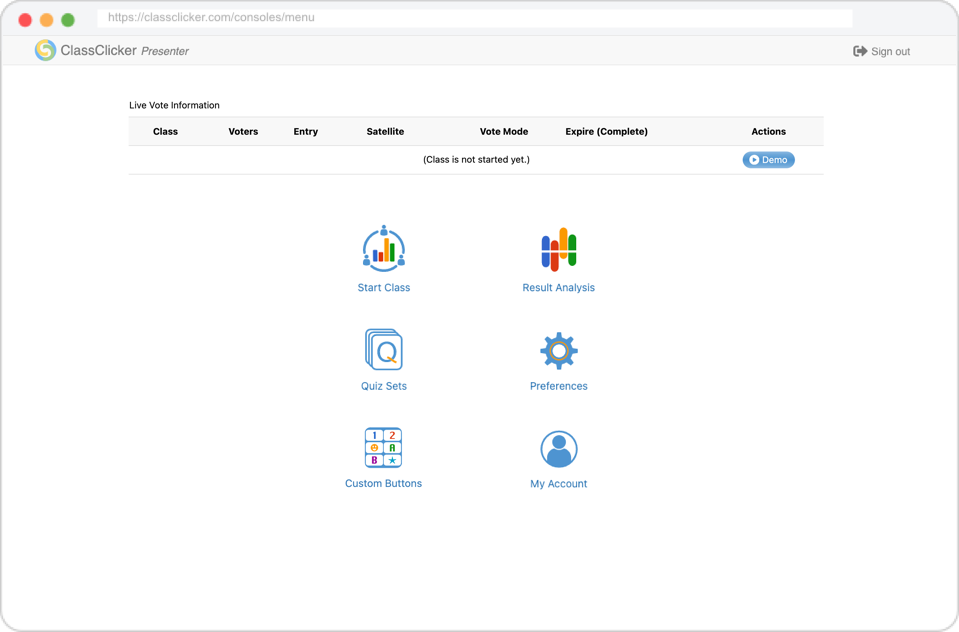
- Click the Start Class icon on the Menu page.
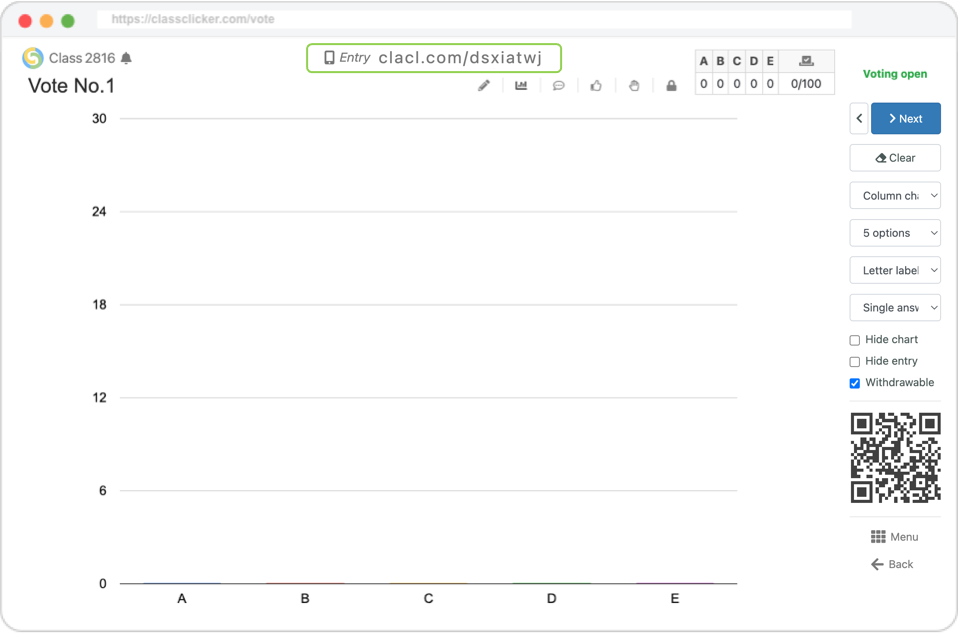
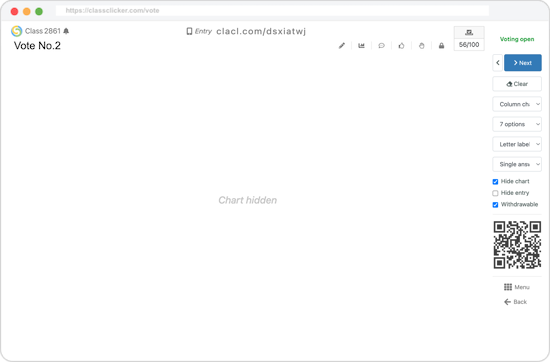
- The voting page is shown with an entry address in the header. Wait for the audience of your lecture to join your voting session by their smartphones, PCs or other devices through the address or the QR code. The number of current voters (the denominator of the vote total) indicated on the right side of the voting table will increase as they join.
- Give the audience your quiz.
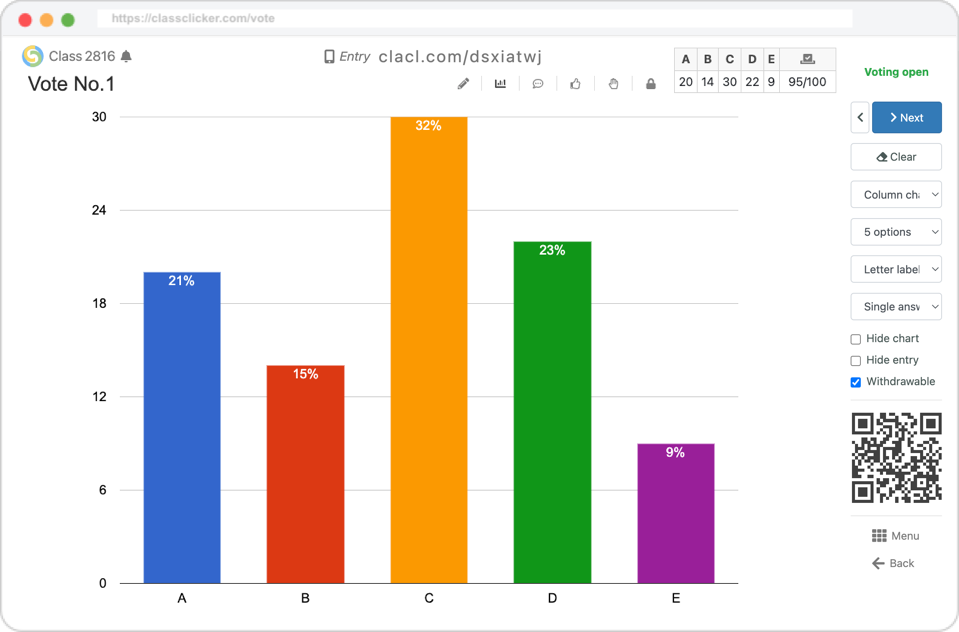
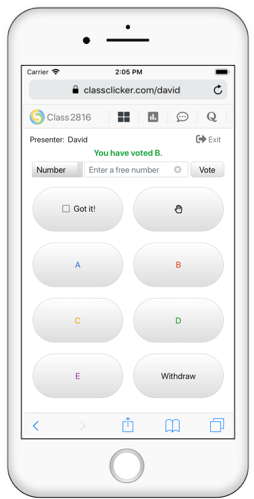
- Your audience vote on an answer to your quiz. Voting results are shown in a chart in real-time.
- If there is another quiz, click the Next button to start voting on the next quiz. Then go back to step 4.
- At the end of lecture or if there is no other quiz, click the complete class icon to complete your ClassClicker class and close the voting session.
Voting Buttons & Options
There are several buttons and options on the right side of the voting page that you can use to control the voting process and dynamically change the chart style.
Next button
When you are ready to finish accepting the votes on the quiz, click the Next button to clear the chart and open the vote on the next quiz. The audience will be able to vote again.
Back (<) button
If you want to go back to the previous vote chart, click the '<' button. The previous vote is shown as a closed vote.
Reopen button
If you want to reopen a closed vote, click the Reopen button.
Clear button
If you want to redo a vote without saving the current voting results, click the Clear button to clear the chart and start voting on the quiz again. The audience who had previously voted on an answer to the quiz will be able to vote again.
Chart type menu
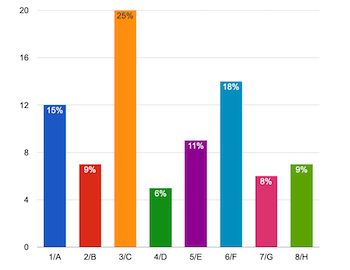
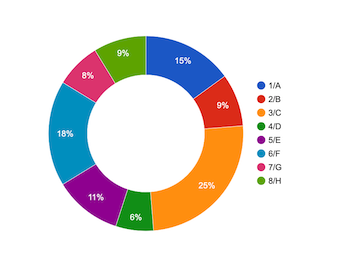
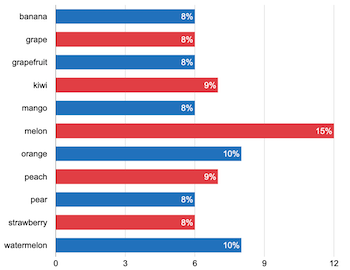
Select a chart type from among 9 options: Column chart, Pie chart, 3D Pie chart, Bar chart, Donut chart, Line chart, Area chart, Curve chart, or Scatter chart.
Option type menu
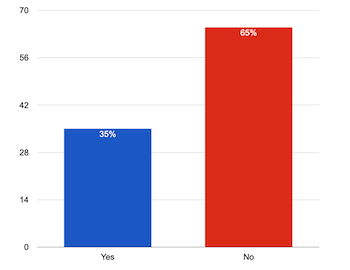
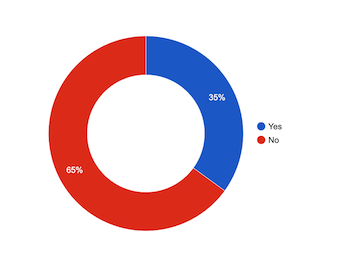
Select the number of multiple choice options you would like to display from 2 to 20, or select Yes/No, True/False, Agree/Disagree, Positive/Negative, Yes/No/Maybe, True/False/Uncertain, Agree/Disagree/Neutral, Positive/Negative/Neutral, Free Number (Numeric input), Free Word (Text input) or Custom Buttons.
| Multiple Choice (2-20) | Free Number | |
|---|---|---|
 |
 |
 |
| Yes/No | Free Word | |
|---|---|---|
 |
 |
 |
Option label menu
Select an option label from Number label, Letter label (Uppercase) and Letter label (Lowercase).
Answer selection menu
Select the number of answers that the voters can select for the vote.
Free answer filter menu
Select an answer filter to limit the number of Free Number/Word answers shown on the vote chart.
Hide chart checkbox
ClassClicker supports a hide chart mode. In this mode, the vote chart and voting progress can be hidden.
Check the Hide chart checkbox to hide the vote chart.
Uncheck the Hide chart checkbox to show the vote chart.
Hide board checkbox
Check the Hide board checkbox to hide the Discussion board (including Got it! and Hands gauges).
Uncheck the Hide board checkbox to show the Discussion board (including Got it! and Hands gauges).
Hide entry checkbox
Check the Hide entry checkbox to hide the vote entry in the application header bar.
Uncheck the Hide entry checkbox to show the vote entry in the application header bar.
Withdrawable checkbox
Check the Withdrawable checkbox to allow voters to withdraw their votes.
Uncheck the Withdrawable checkbox to prohibit voters from withdrawing their votes.
Show comma checkbox
The Show comma checkbox is only displayed when the Free Number option type is selected.
Check the Show comma checkbox to display submitted numeric answers with commas as thousands separators.
Uncheck the Show comma checkbox to display submitted numeric answers without commas.
Edit Voting Title
You can edit the voting title directly by clicking the pen icon during the voting. The title is also saved as the title of the Vote Result.
Select Voting Quiz
You can select the voting quiz from the drop-down list by clicking the drop-down arrow icon during the voting.
Lock vote
Click the lock icon to lock the vote.
Chart Category Menu
Click the icon to display the Vote chart.
Click the icon to display the Discussion board.
Click the icon to display the Got it! chart.
Click the icon to display the Hands chart.
Note: When the Hide chart checkbox is unchecked, the and icons in the chart category menu are color-coded based on voter participation. When charts are hidden, the icons are displayed in their default color.
-
Got it!
- Green: 66.66% or higher
- Orange: 33.33% to 66.66%
- Default color: below 33.33%
-
Hands
- Green: 50% or higher
- Default color: below 50%
Complete Class
Click the complete class icon to complete your ClassClicker class and close the voting session. All the voters are disconnected from the class and the voting data is saved as the results.
Note: ClassClicker is designed for use in a lecture. Since most lectures typically last around 1 or 2 hours, we recommend completing the class manually at the end of the lecture. If a class is not completed, it will remain open for up to 8 hours, during which voters may continue to submit votes after the lecture has ended, potentially affecting the saved results.